How to create a static header in Looker Studio?
Tired of not being able to build a static header in Looker Studio? No worries, we’ve got a solution for you !
Looker Studio offers a few options to navigate through pages: menu on the left, list top left of your screen, or tabs top of your screen. But what if you built your own navigation system, within your report? In this article, we’ll show you how to create a static header in Looker Studio.
Top Looker Studio connectors we love and use on a daily basis (all with free trials): PMA - Windsor - Supermetrics - Catchr - Funnel - Dataslayer. Reviews here and there.
Not sure which one to pick? Have a question? Need a pro to get a project done? Contact us on LinkedIn or by e-mail, and we’ll clear up any doubt you might have.
Looking for Looker Studio courses? We don’t have any… but you can check Udemy!
Create report-level components on page 1
First thing first: make sure all pages are the same width, as we will be using report-level components, and these could break (or better said, could look bad if all your pages don’t have the same width). Second, make sure to leave space on all your pages to put your header (usually, the header is not the first thing you build as you might not be sure yet how many pages you’ll have).
Now, please create a rectangle shape that you will put top of your page, and for each page (in our example, we’ll have 3), create a text box with the name of the page just below that shape. We’ll go one step beyond, having 2 text boxes and 1 image to show you it can work just the same.
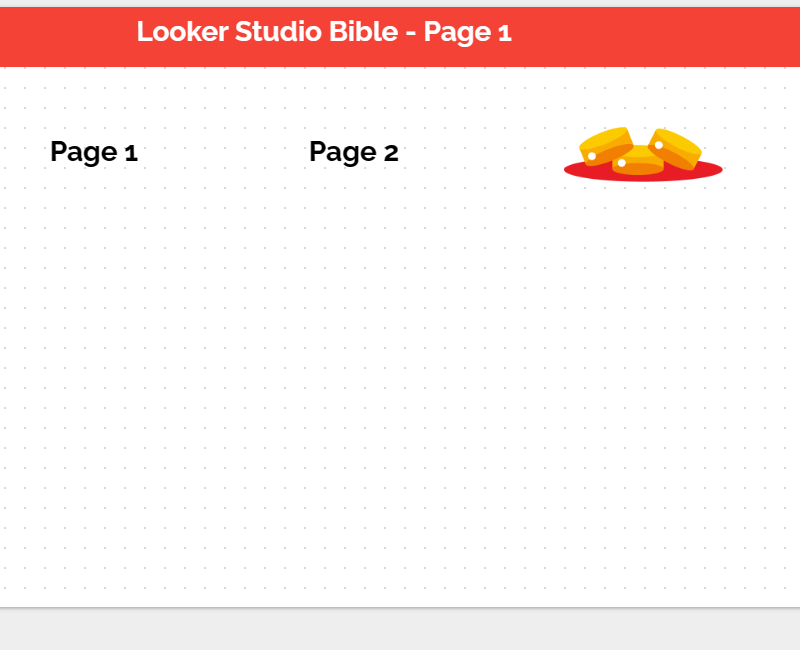
Select these 4 components, make them report-level, and you should see something like that on all your pages (my title is page-level. To be sure it is not covered by the shape, set Report-level Component Position to Bottom in the Theme and Layout / Layout menu):
Next, add some effects to give it the touch & feel of a nicely built header :)
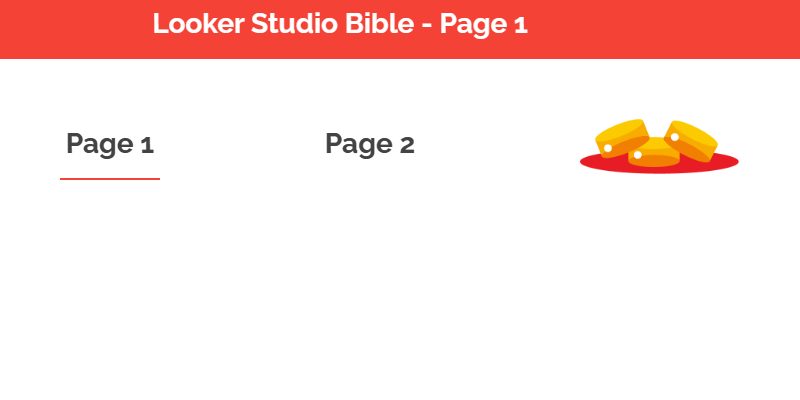
On page 1, under page 1, add a line (page-level) so people understand that this is where they are. Same on page 2 under page 2 only, and same on page 3, under the image.
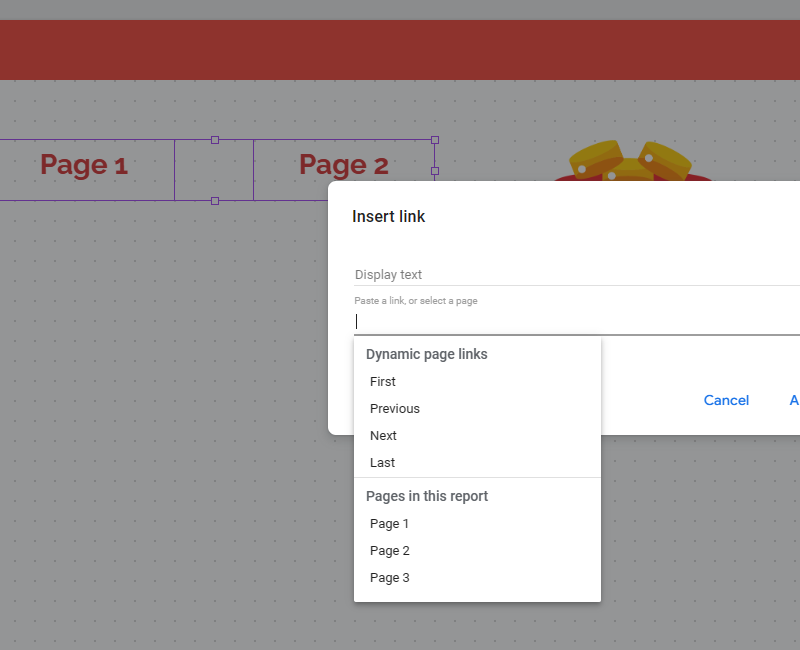
Now, select your Page 1 text, and add an hyperlink to Pages in this report — Page 1 as follow (don’t open in a new tab). Do the same for page 2 & page 3, and don’t forget to remove the Underline after doing so:
Last, a few settings to change and you’re good to go
As you’ve created a nice header, no need for Navigation anymore, so you can choose Hidden for Navigation Type in the Theme & Layout / Layout menu.
Regarding your links, you’ll have to go in the Theme & Layout / Theme / Customize menu, and select the same color for Link Style, whether they’ve been clicked or not (looks better).
Don’t forget to add page-level titles on page 2 & 3, and you’re good to go, you’ve built your own navigation in a static header!
In this short article, we’ve reviewed how to create a static header in Looker Studio.
PROBLEM SOLVED !
Top Looker Studio connectors we love and use on a daily basis (all with free trials): PMA - Windsor - Supermetrics - Catchr - Funnel - Dataslayer. Reviews here and there.
Not sure which one to pick? Have a question? Need a pro to get a project done? Contact us on LinkedIn or by e-mail, and we’ll clear up any doubt you might have.
Looking for Looker Studio courses? We don’t have any… but you can check Udemy!
Communicate and browse privately. Check Proton Mail and Proton VPN
Website hosted by Tropical Server


